I'm really slacking off. I have been somewhat active on
Google+, put a couple photos on Facebook. But nothing here since
July 1st, 2013 - wow.
Ok - here are the projects on the go. In no particular order:
CNC
The little guy inside keeps humming along, while the big brother outside has been getting a major overhaul.
Mechanically
A completely rebuild Z axis and Y axis truck. Switched both X & Y from 1/4" 20TPI threaded rod to direct drive belt. Beefed up the steppers as well.
Front - new Z & Y
Back - more Y details and X belt showing.
Electrically
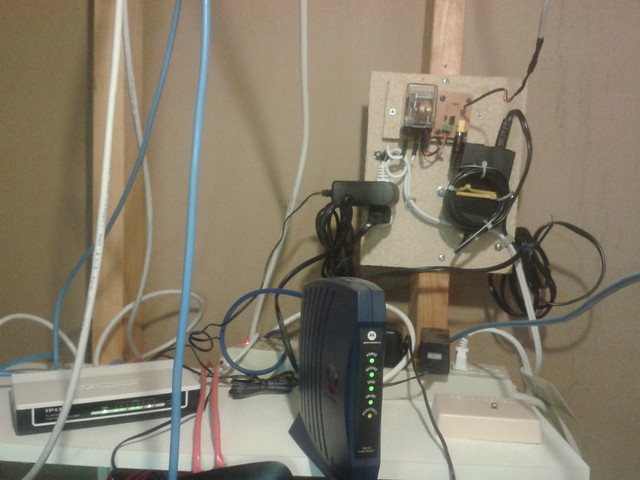
Built a 3 axis Polulu breakout board. Fried the drivers. Then built a 24V power supply and TB6560 based 3 axis stepper driver.
Polulu breakout board - milled quite nicely. Still have the board. May use it for a 3D printer.
Joined 2 ATX power supplies, some fans and some TB6560 driver boards for this animal!
Man Cave
Winter came & went and then came back. The tarpon based shop-in-a-shop had lost its appeal, and I wanted something bigger, warmer, slightly more permanent.
I drew up a nice blue print and started working.
Some walls are up, and equipment is moving in.
Solar tracking Solar Panel
After camping this year, I decided to try building a turn table that would keep my solar panel aimed at the sun. It hasn't progressed very far, but I was pleased with the way the wooden gears turned out.
These are the two gears meshed together on the table.
This is the left over material and the little mill that cut them out!
DMX controlled stage light
My current project is to build a simple DMX controlled RGB LED pan tilt light. Except, mine probably won't be as nice as the linked to sample project. My son writes and wants to perform electronic dance music. He has some cool ideas for running the stage, but we need some test gear to work out the software kinks. I've got some time, and so I figured I'd tackle building an Arduino based light.
This is the 3 channel LED current driver and the 10W RGB LED on a heat sink in the back ground.